How to Make a Pumpkin Bird Feeder; 5 Easy Steps
How to Make a Pumpkin Bird Feeder in 5 Easy Steps
Fall is the perfect time to get crafty with your garden birds. One fun and eco-friendly way to do that is to turn a pumpkin into a bird feeder! It’s a simple project using a seasonal favourite, get your kids involved and give local wildlife a healthy snack. Follow these easy steps to make your own pumpkin bird feeder.
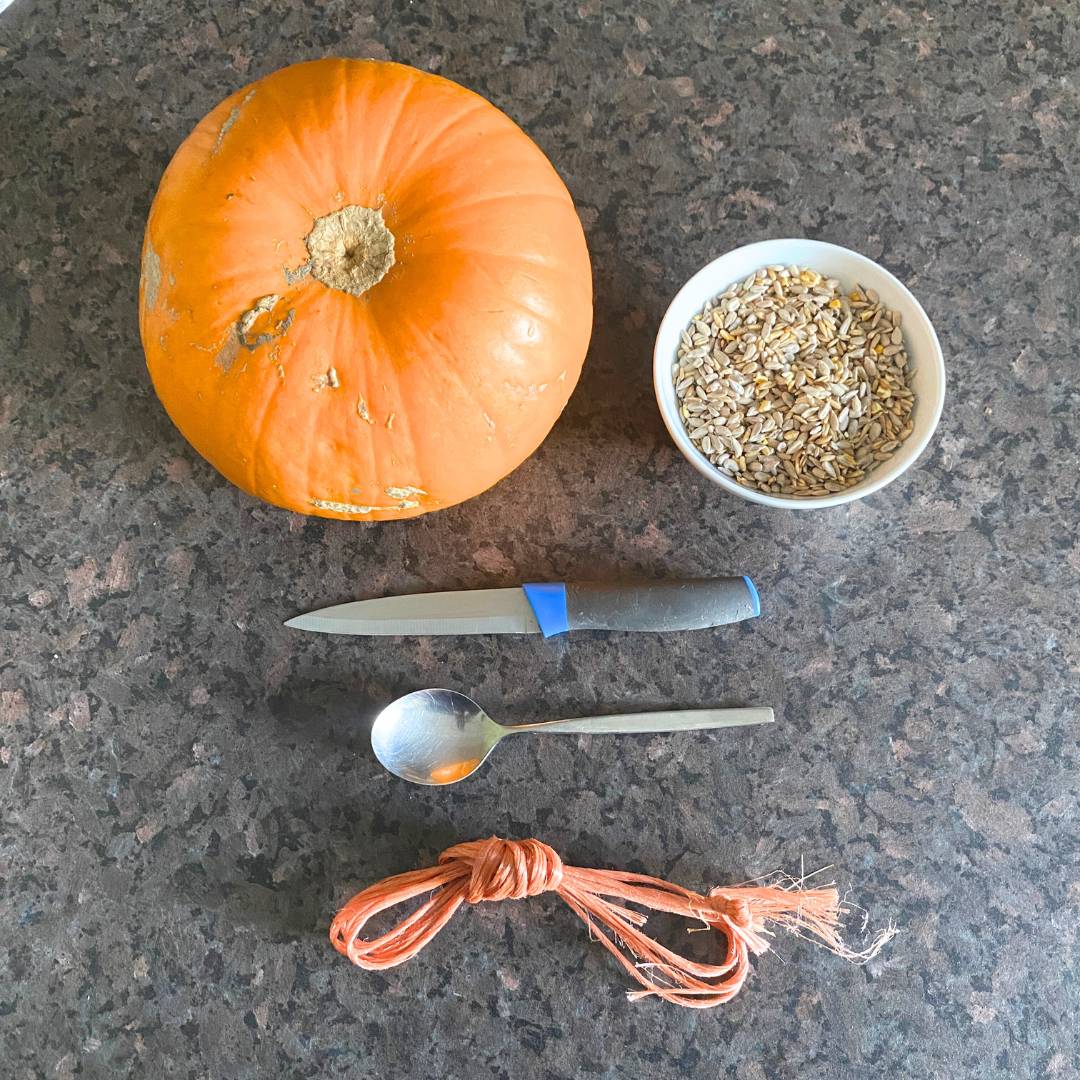
Tools & Materials:
- Small to medium pumpkin
- Knife
- Spoon (for scooping)
- Wire or twine
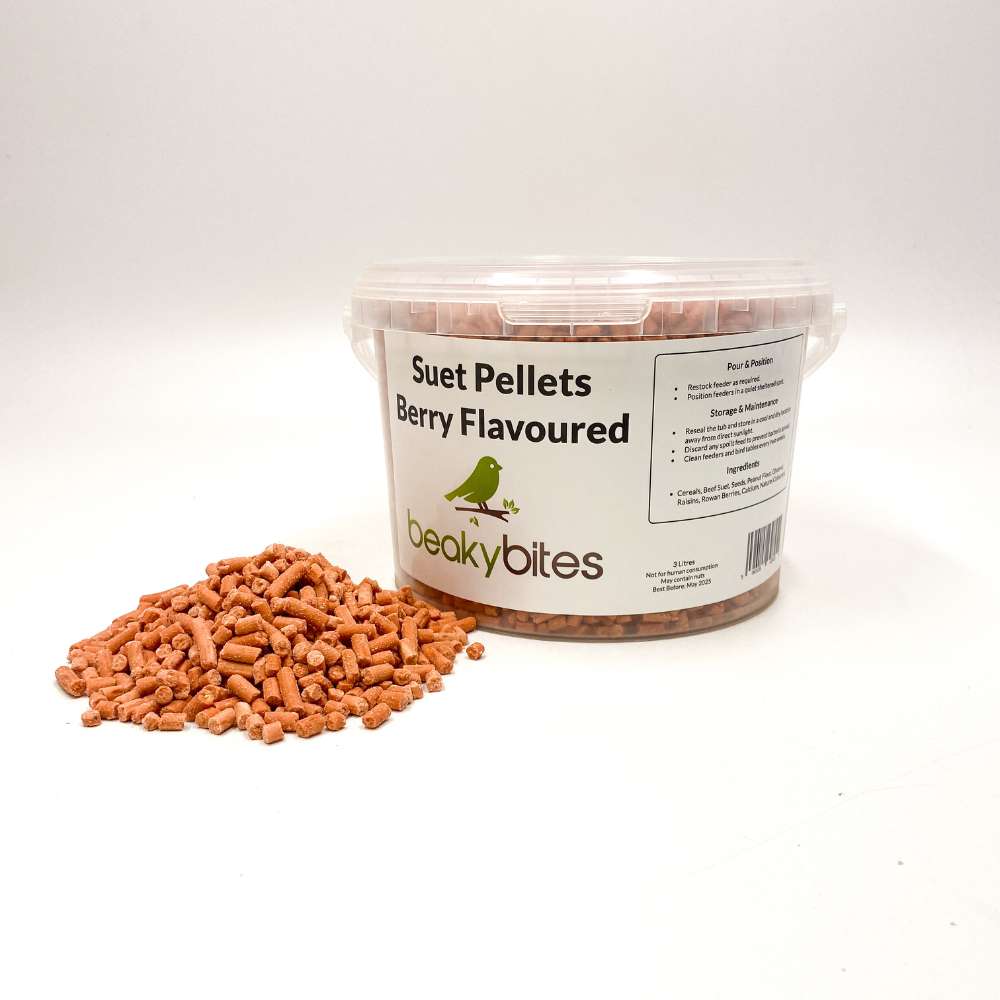
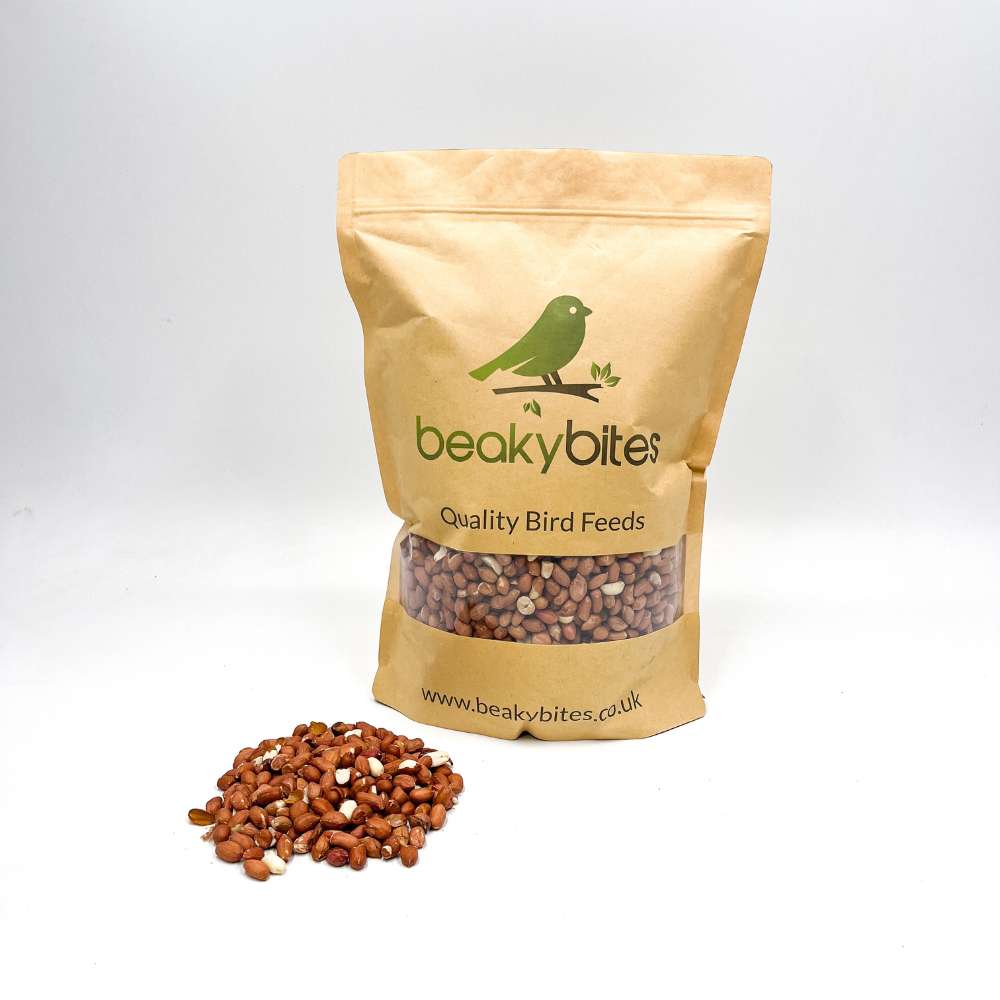
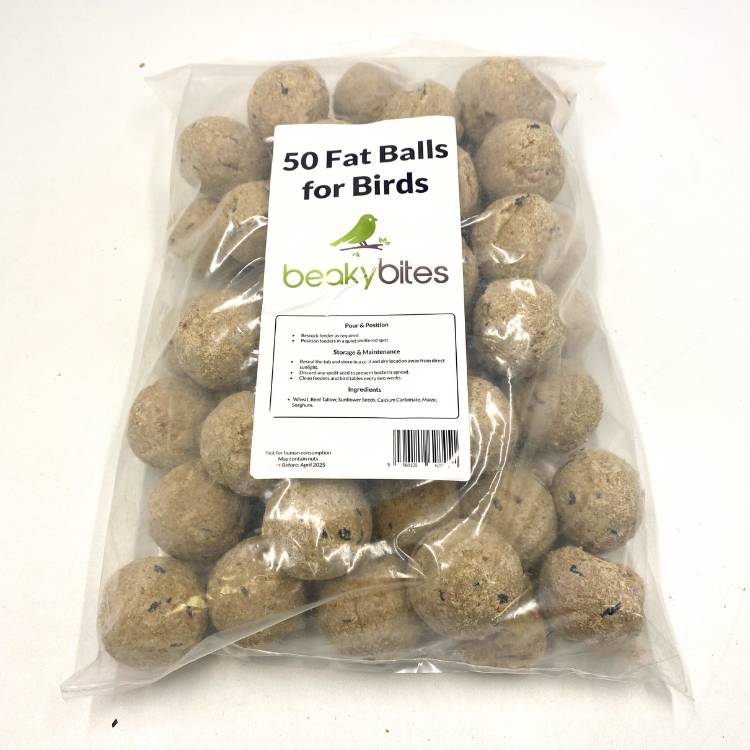
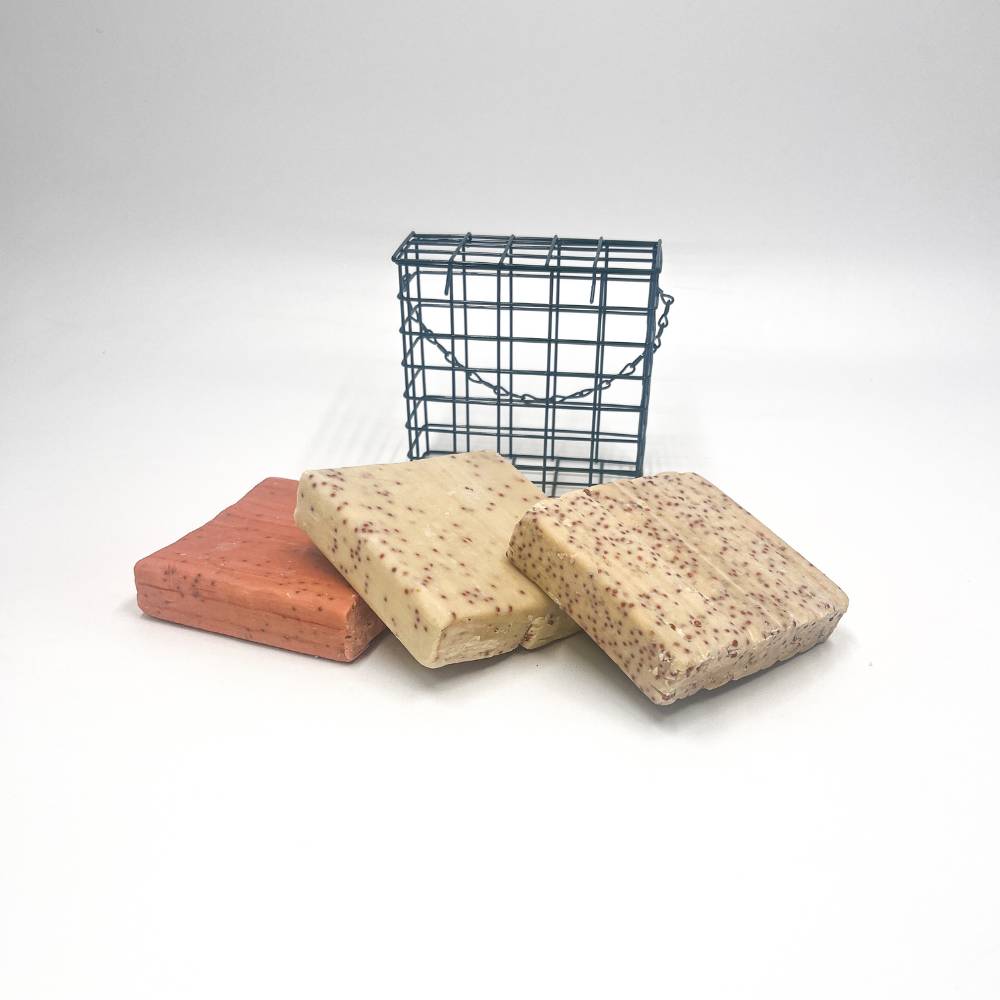
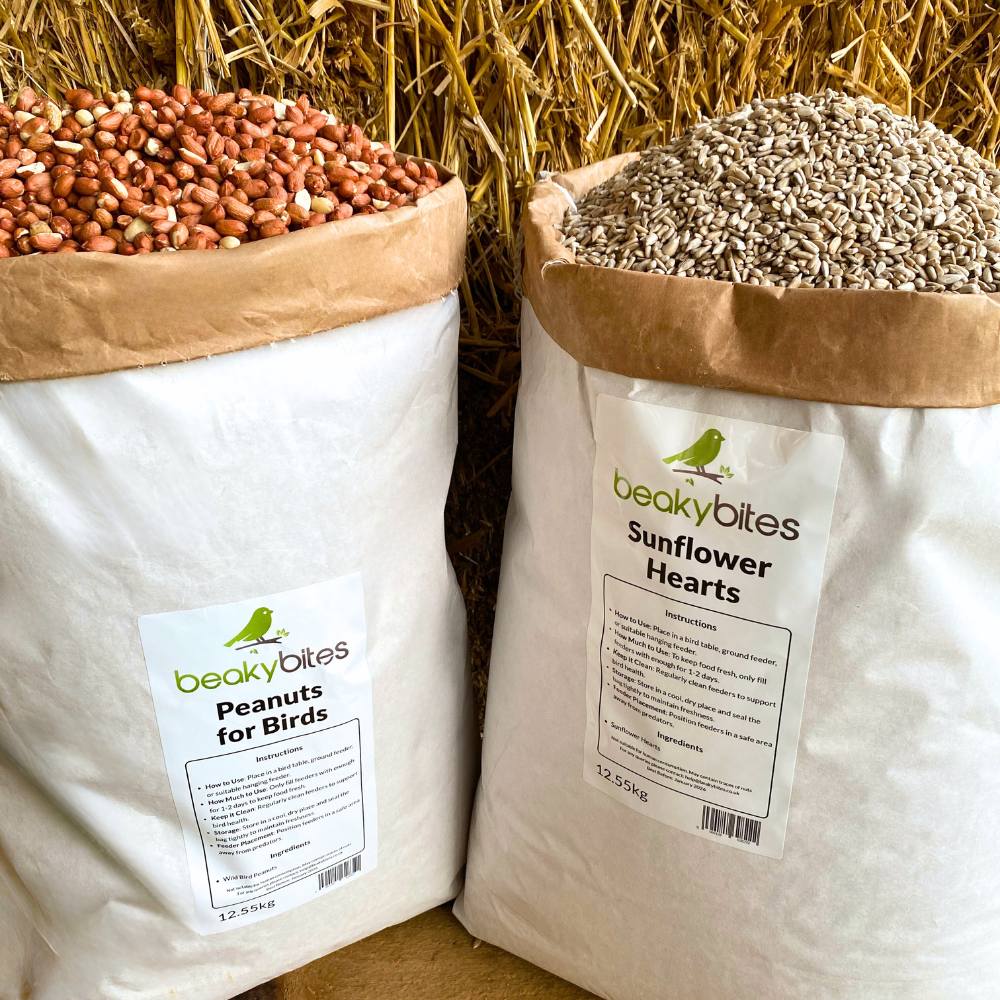
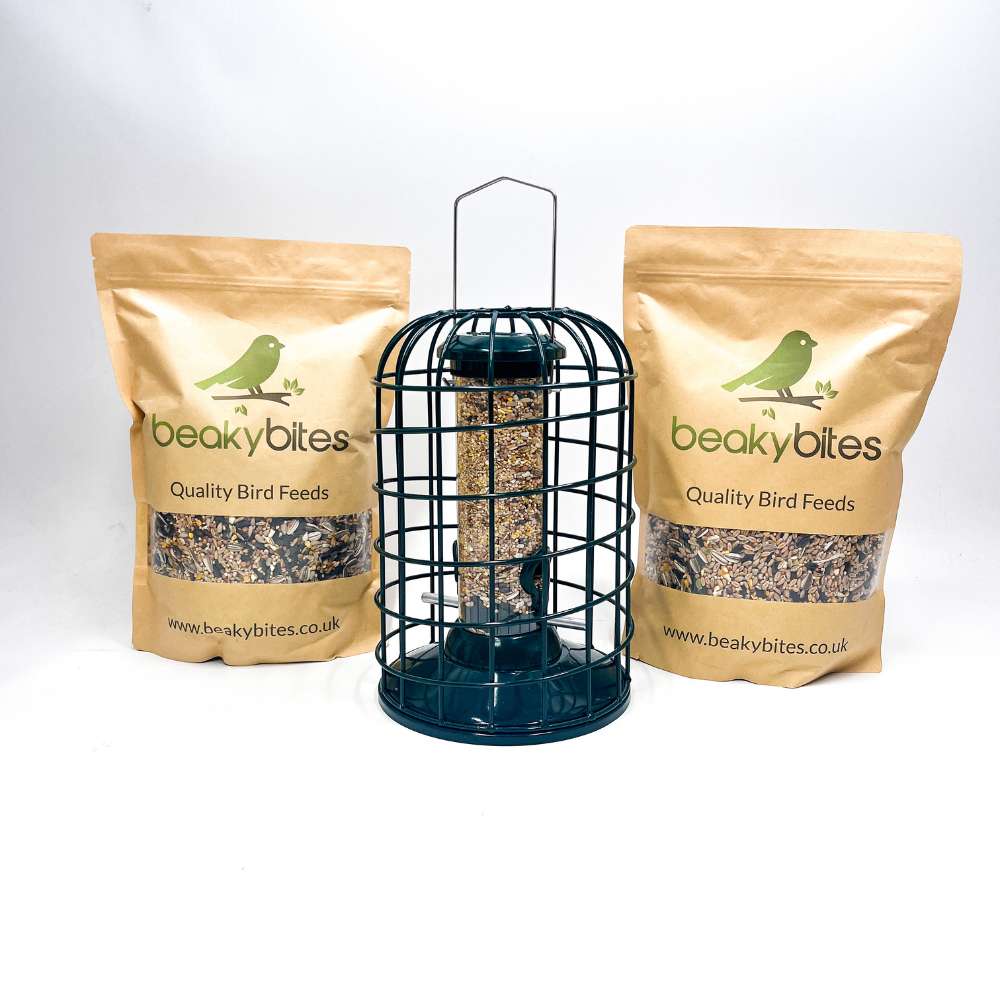
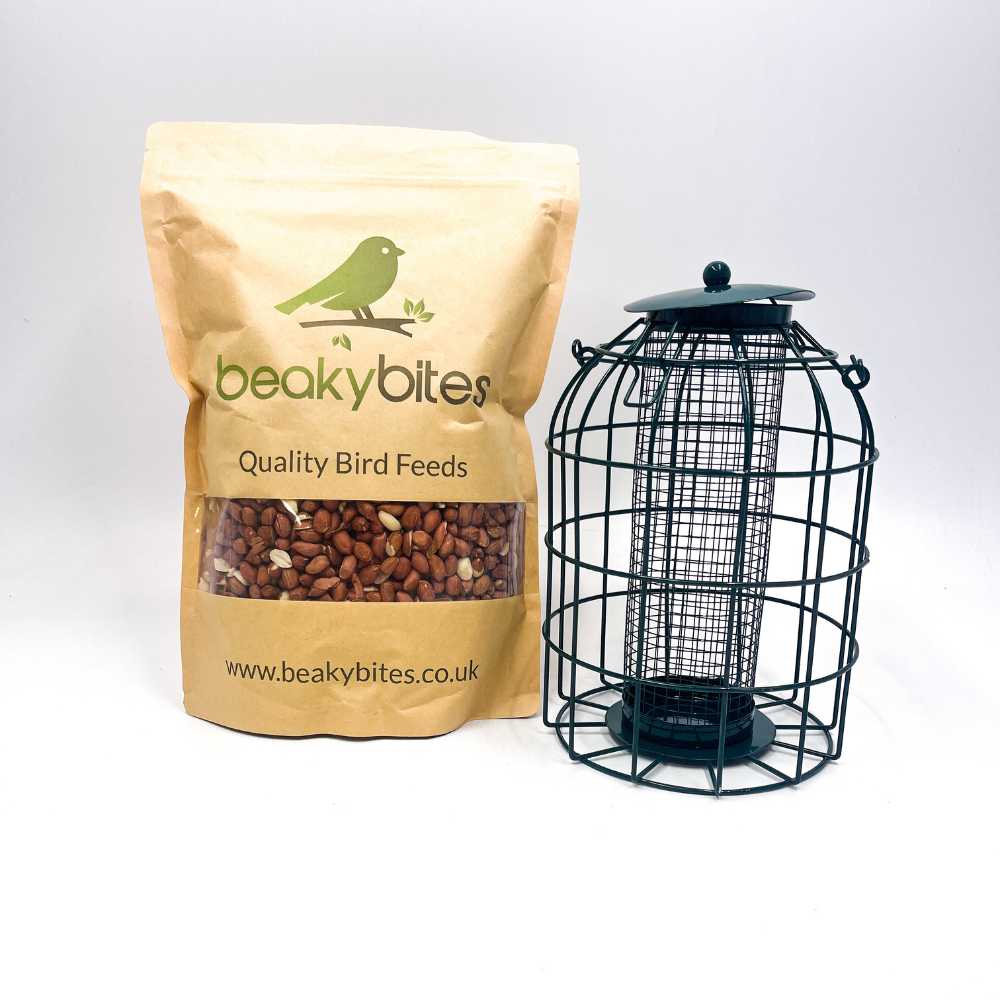
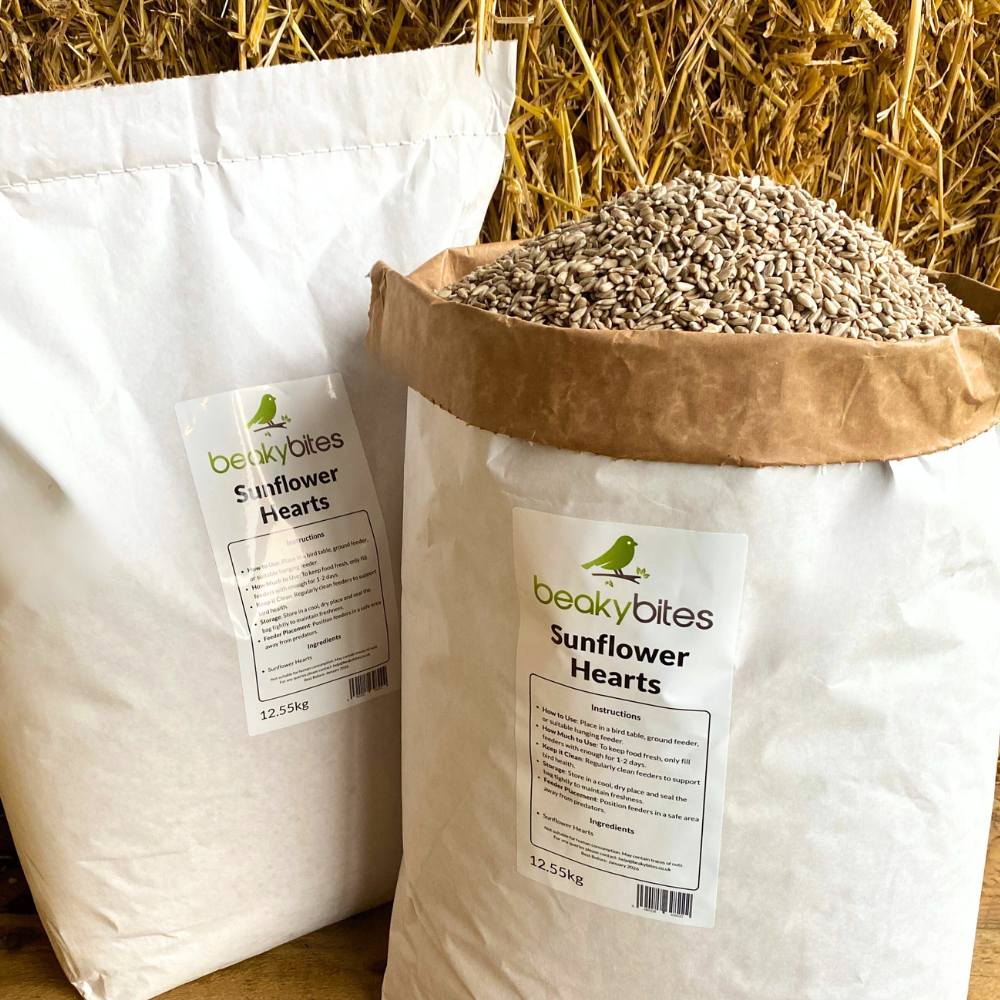
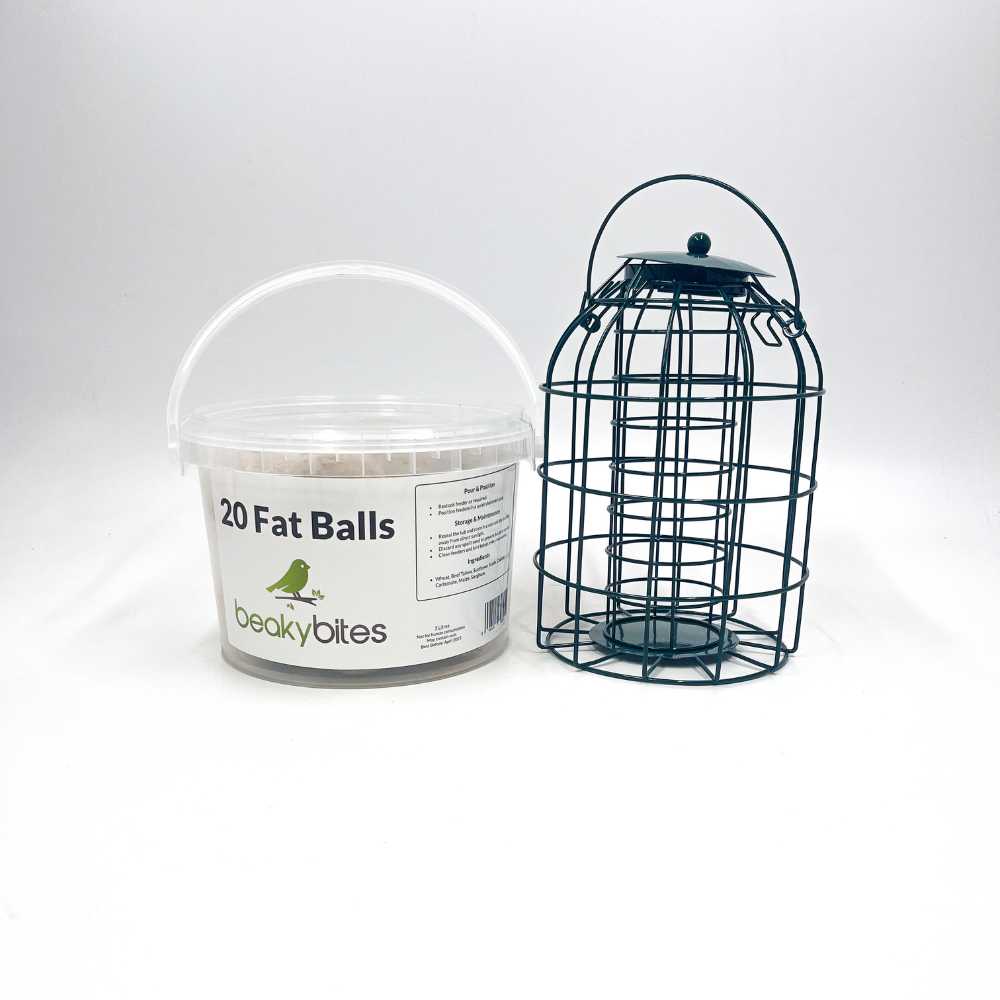
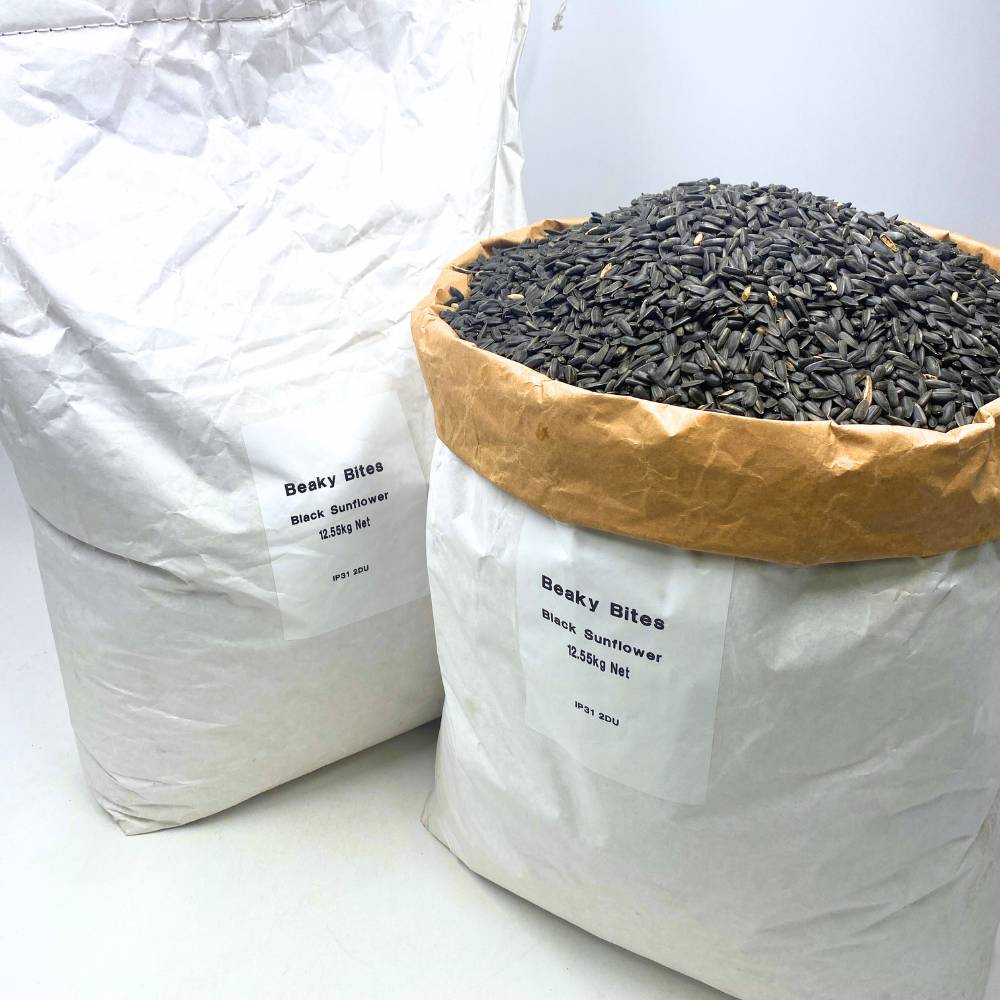
- Bird feed (sunflower seeds, mixed seeds or suet)
Instructions:
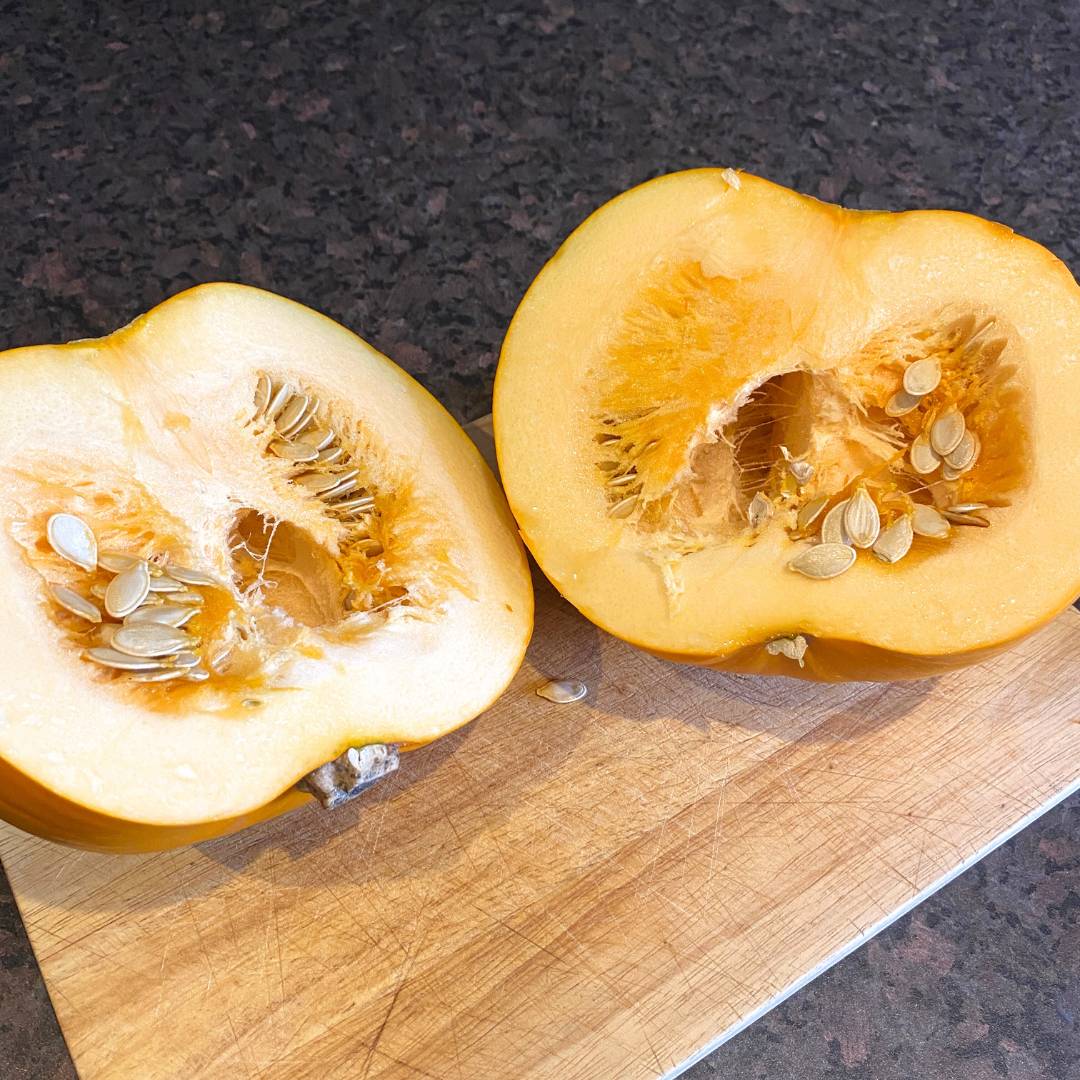
Step 1: Cut in half
Use a knife to cut your pumpkin in half horizontally. You can use one half for the feeder and save the other for another project or compost it.
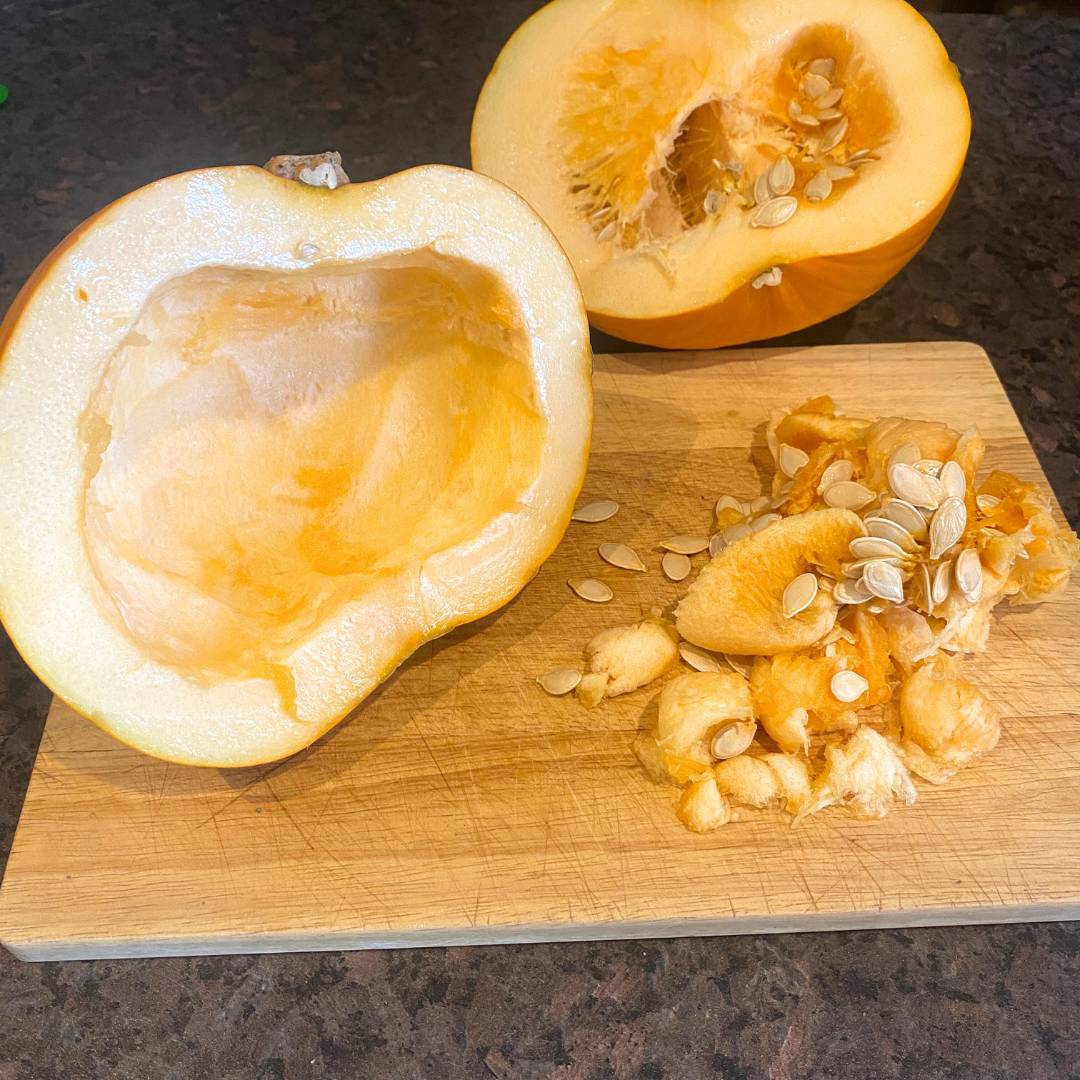
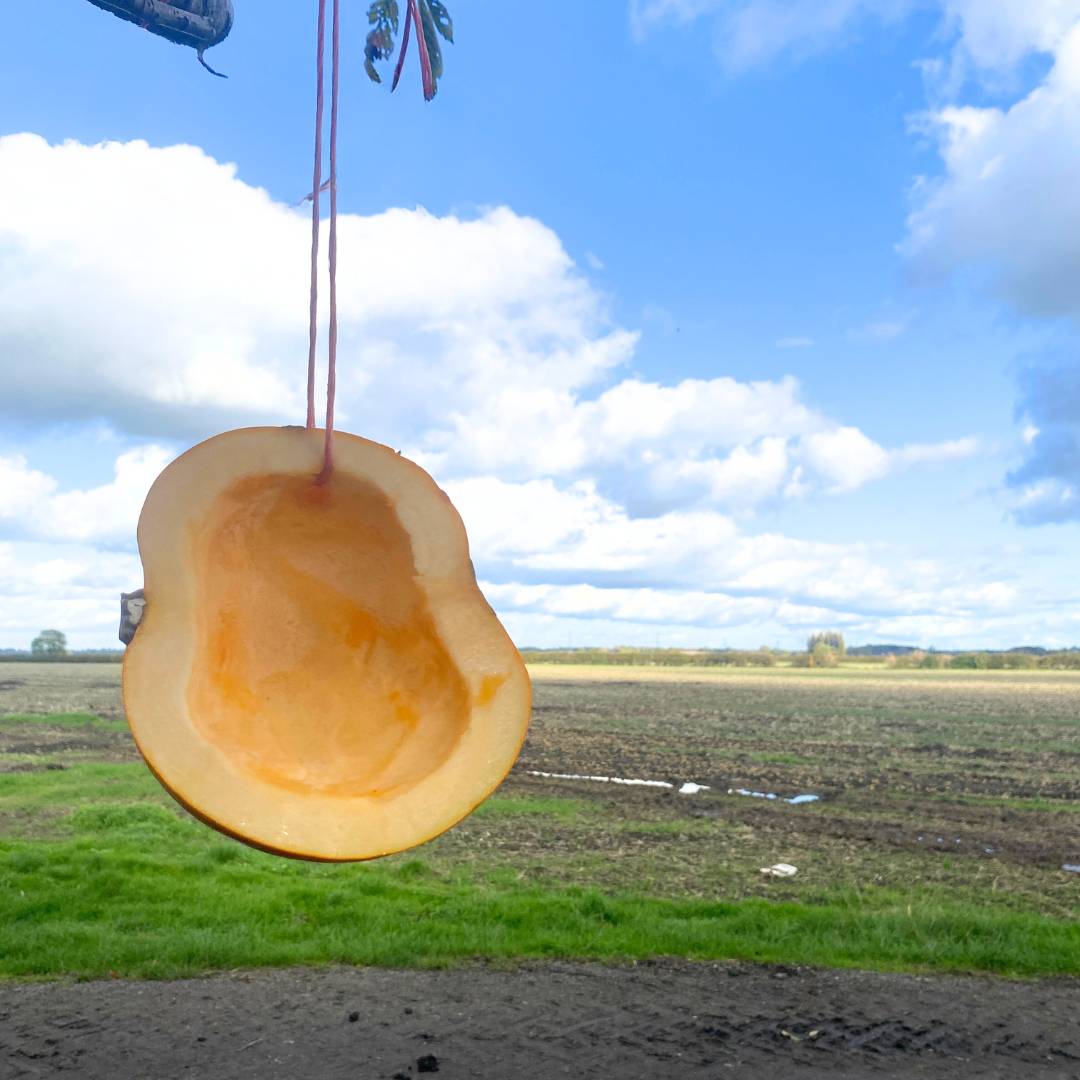
Step 2: Scoop out the innards
Remove all the seeds and pulp from inside the pumpkin using a spoon. You can save the seeds for yourself to roast or dry them to feed the birds later!
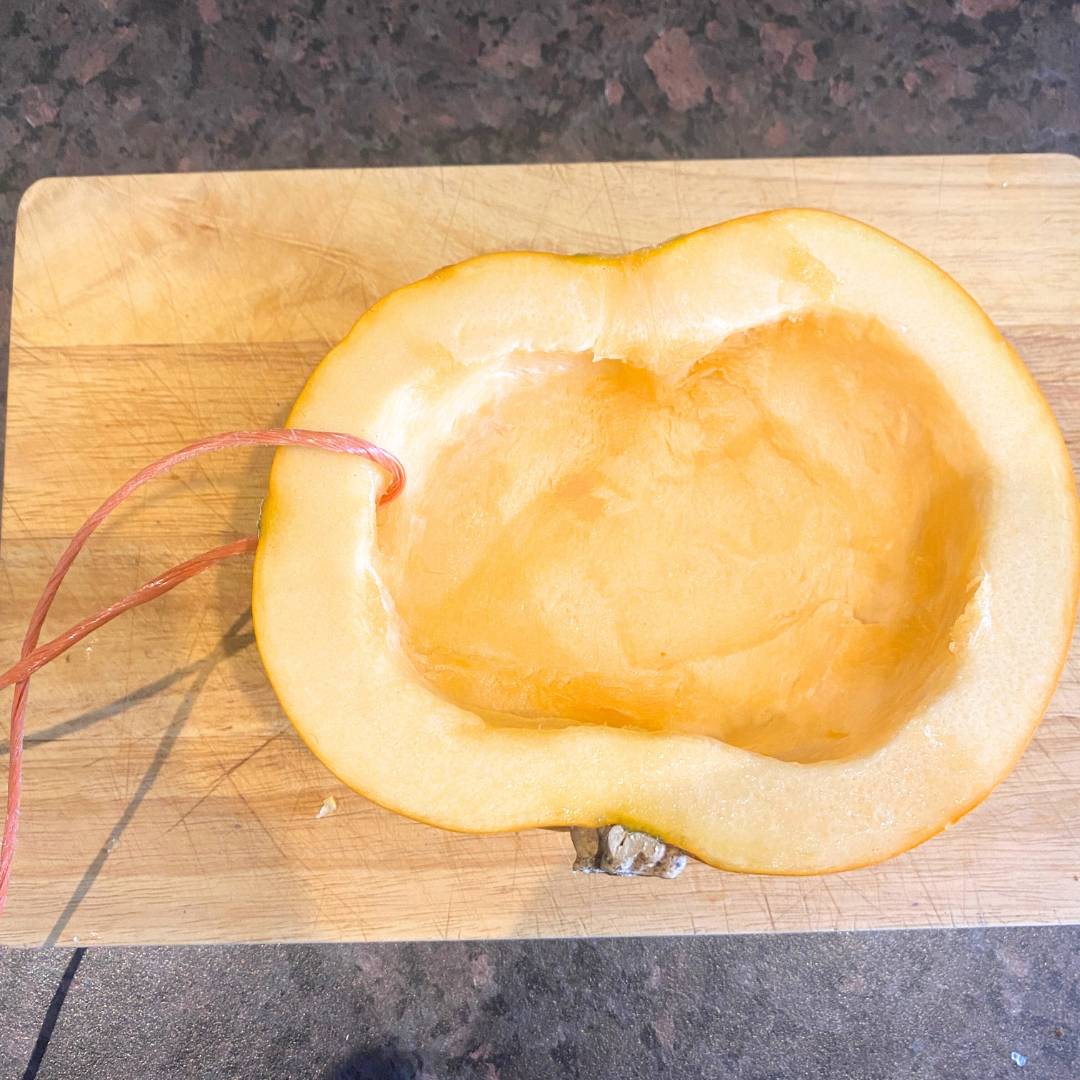
Step 3: Add wire for hanging
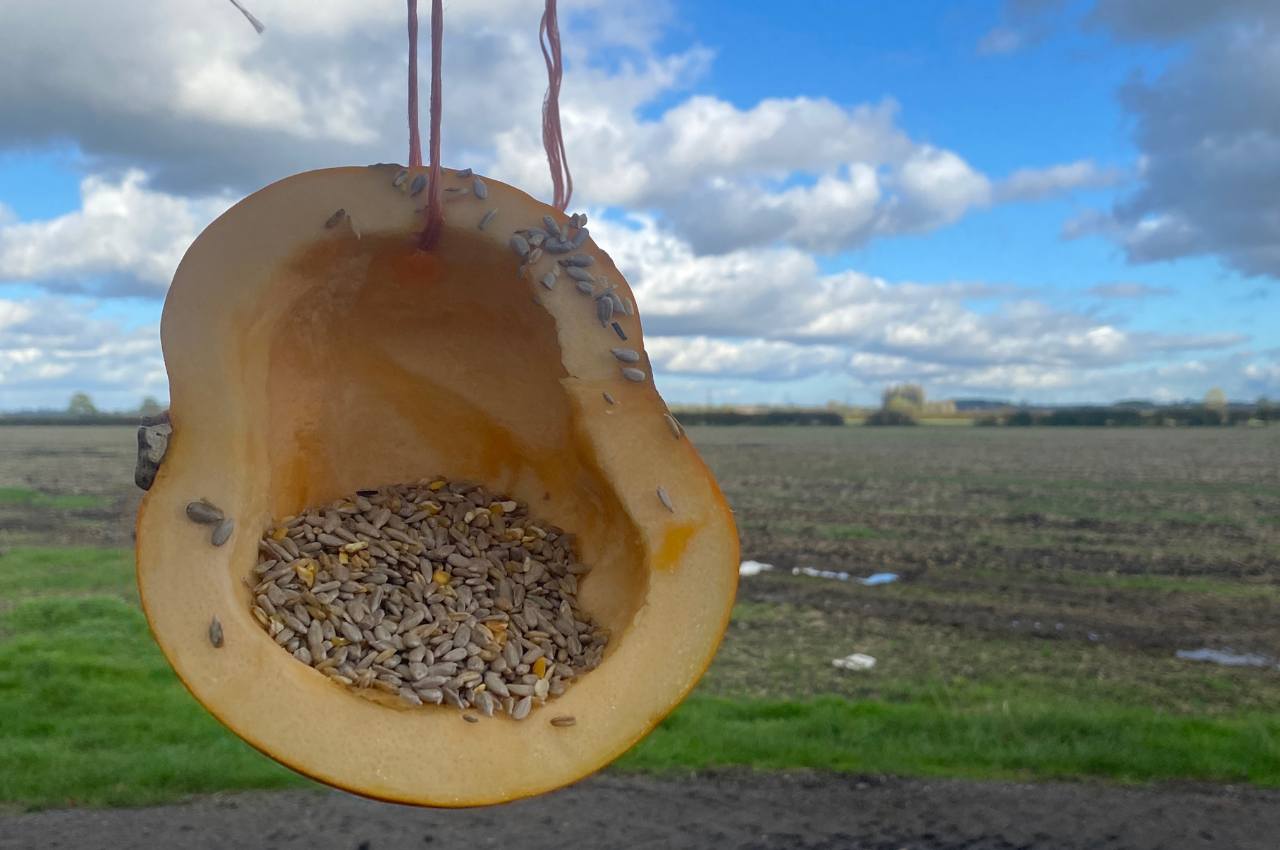
Poke two holes near the top edge of the pumpkin half, on opposite sides. Thread a wire or twine through the holes and tie a knot, so it’s secure and balanced for hanging.
Step 4: Hang it
Choose a sturdy tree branch or bird feeder hook and hang your pumpkin. Make sure it’s at a comfortable height for viewing and refilling, but out of reach of any curious critters.
Step 5: Fill with bird feed
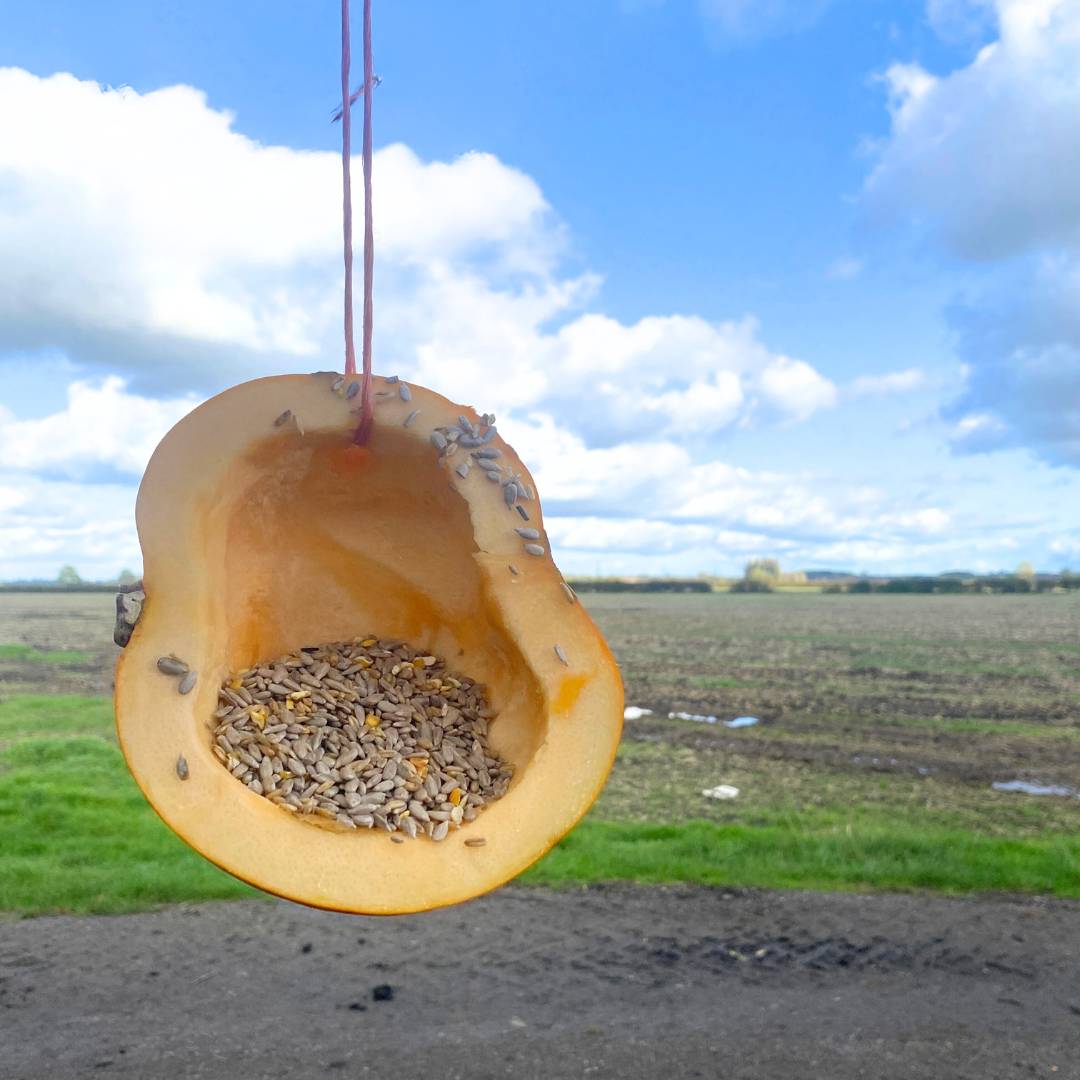
Fill the pumpkin with your choice of bird feed. Sunflower seeds, mixed seeds or suet pellets work great. You can include some of those pumpkin seeds from earlier as well, just try cutting them up or cracking them so that small birds can eat them as well.
Conclusion:
You did it! With just a few simple materials and steps you have a natural and festive bird feeder that will attract all sorts of birds to your garden. And when the pumpkin starts to break down you can just replace it with another or compost it. Enjoy watching the birds flock to their new autumn snack spot!
